How to make cabinet face frames
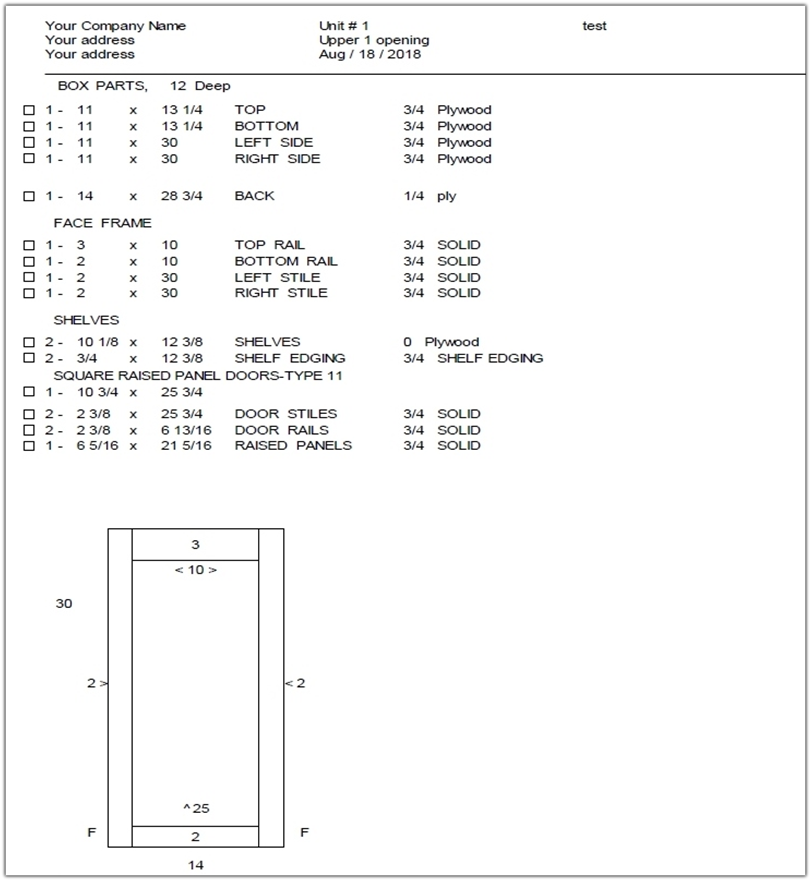
The shop plan for this cabinet says we need two 2” x 30” stiles, a 3” x 10” top rail and a 2” x 10” bottom rail.
Copyright 2005-2026 Cabinet Planner LLC
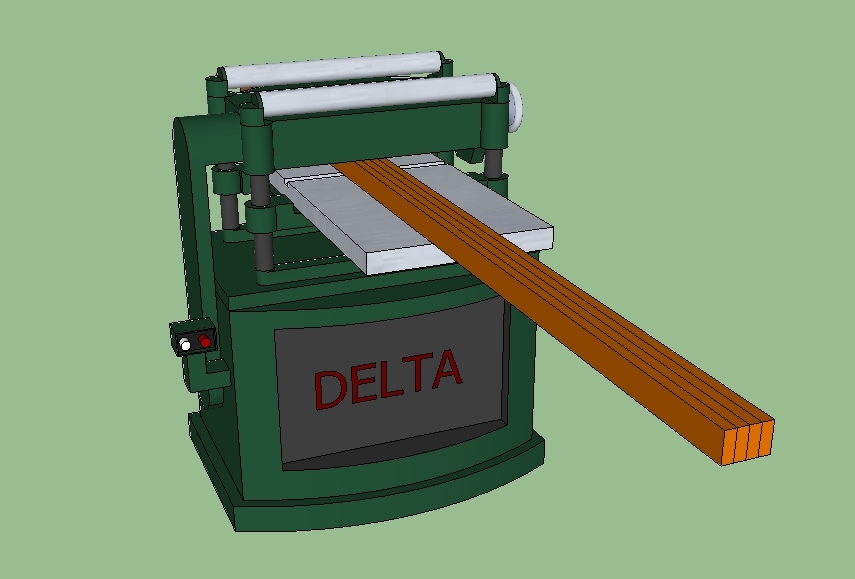
Start by ripping your stock to 1/8” larger than needed if you have a planer to run them down to the finished size. Otherwise cut them to just a hair over size and then use a belt sander to clean up the saw marks.
If you have three or more lengths of stock that are the same size you can run them through a planer on edge, holding them tight together as they go through. This does not work very well with one or two pieces. You need at least three to keep them from tilting sideways. An overhead sander can also be used.
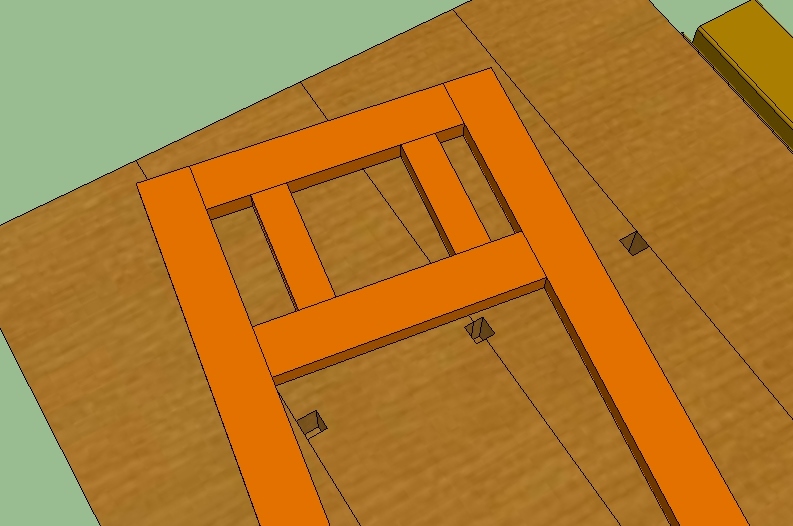
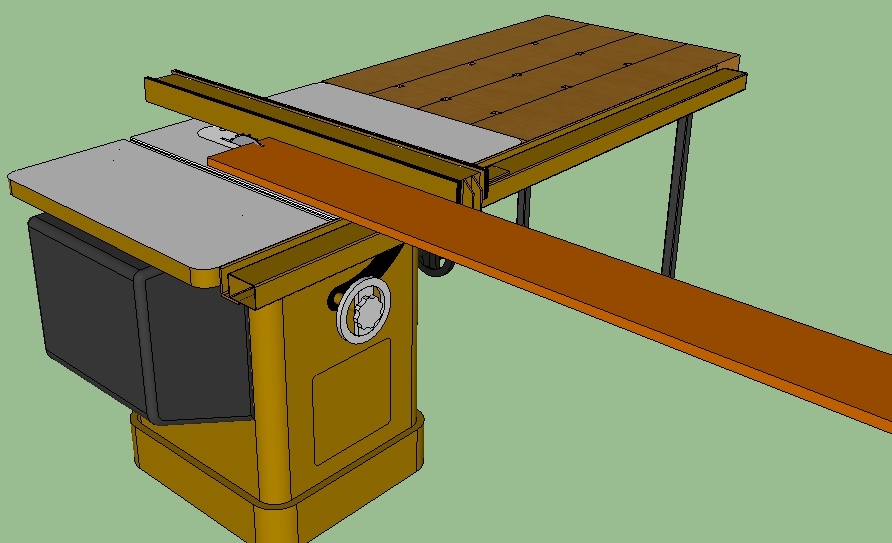
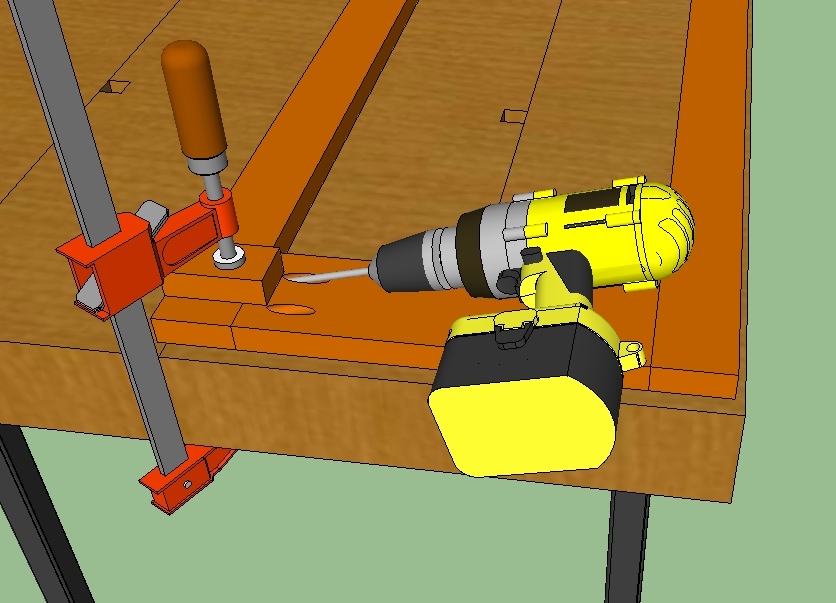
With a miter saw, cut your pieces from your stock. Then using a pocket screw jig (Sorry, no picture), drill your pocket holes in the ends of the top & bottom rails. Then simply glue them up and run some screws in to pull the joint tight. A clamp and piece of scrap will help to keep the stile & rail flat while assembling them. Don’t use a lot of pressure when clamping, just enough to keep everything lined up.
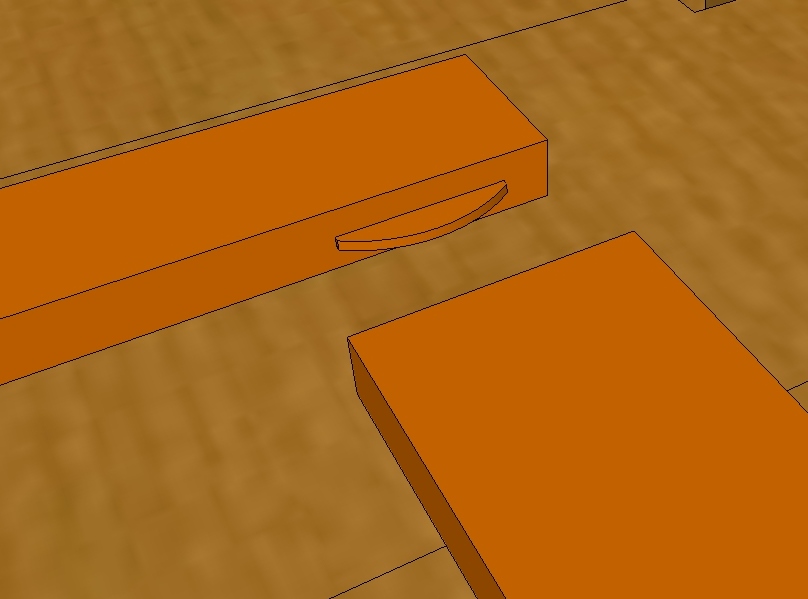
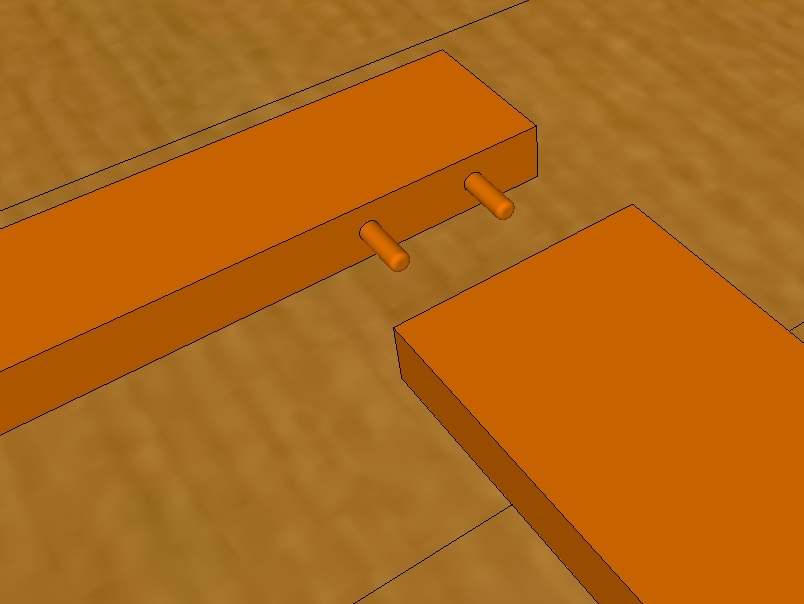
You can also use biscuits or dowels for your face frames.
When assembling your face frames it is often helpful to cut spacers to help align the middle rails for drawer openings and such. They will go together much quicker and more accurately.