Copyright 2005-2026 Cabinet Planner LLC
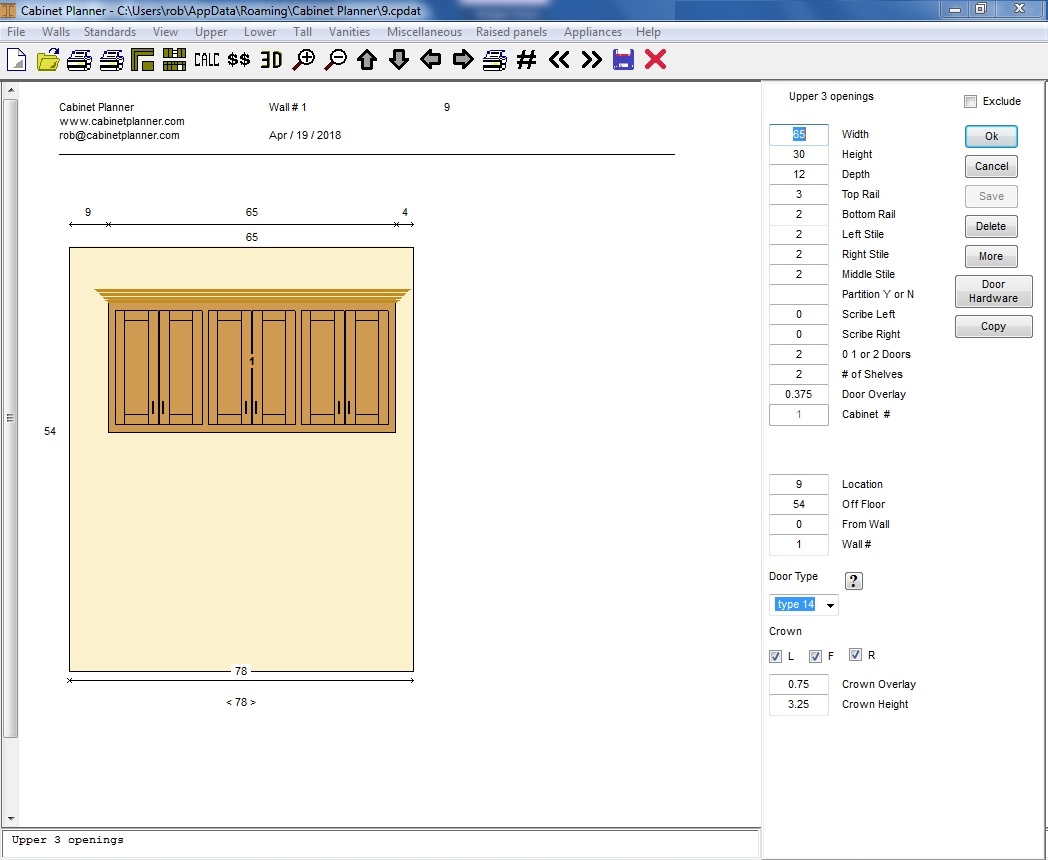
Once you have created and saved a wall you can add, edit or delete cabinets while in the elevation view. Just open the elevation you want to work on and either select one of the saved cabinets from the list on the right or choose a new cabinet from the menus along the top of the window. Enter your sizes and press the OK button. A ghost image of the cabinet will then be drawn over the elevation. You can then make any changes in the edit window on the right, click the OK button and the cabinet will be re-drawn. When you have it the way you need it click the save button and the elevation will be re-drawn with the new cabinet.
Double left clicking on a cabinet in the elevation will select it so you can resize it with your mouse. When you resize it with one of the drag handles and then release it, the new sizes will be saved and the elevation will be redrawn. To unselect a cabinet right click anywhere on the drawing. This feature only works when the elevation view has not been zoomed in or out, or resized.
You can open the editing window for any cabinet or object in the elevation view by double right clicking on it
in the drawing.
You may also place cabinets with the Click & Drag feature. Click here for more info.
If you would like to preview the shop drawing for any cabinet, just close the elevation window and open the edit window for that cabinet and then press the OK button.
Also, you do not need to close the elevation view unless you need to see the text window that is normally in its place. When switching to a new wall or the floor plan view, the program will automatically close the window and open the new one.
The Save button will be de-activated until the OK button has pressed. Once the OK button has been pressed the info for that cabinet has been calculated and it can then be saved.
The Delete button will be de-activated for new cabinets that have not yet been saved.