Copyright 2005-2018 Cabinet Planner LLC
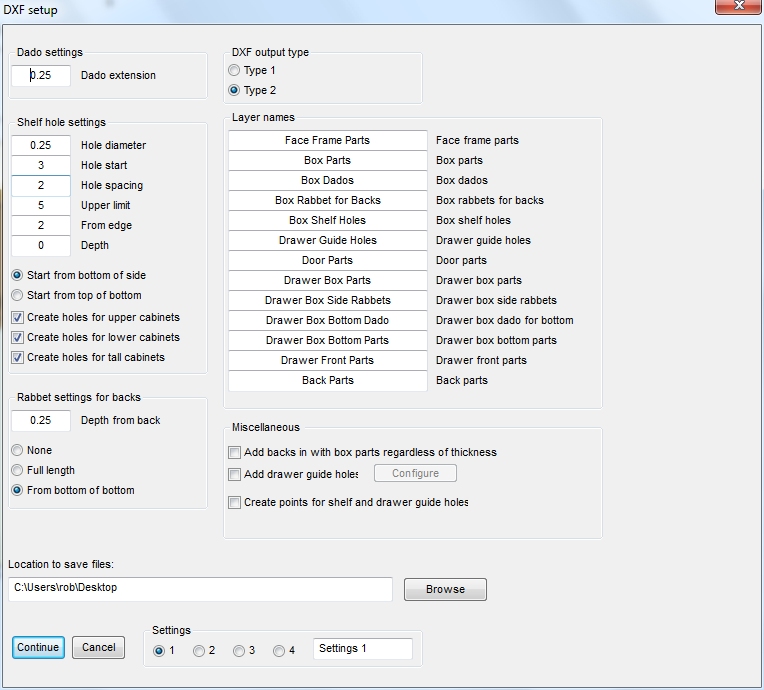
Setting up and using the DXF output is pretty straight forward. The setup window gives a few options for what is added to the file and how it is applied. Once you have it setup press the CALC button in the toolbar and select the panel layout button next to the material to be nested.
Once the program gathers all the parts a window will open asking for the size of the source panel and a few other settings. After entering your sizes press the OK button and the main optimizer window will open. Put a check in the box for DXF file output and press one of the method buttons. After cycling through all the panels for each material a file dialog window will open for you to select a name and location for the DXF file and press save. The file will be created and you can then import it into your toolpathing software.
Once the program gathers all the parts a window will open asking for the size of the source panel and a few other settings. After entering your sizes press the OK button and the main optimizer window will open. Put a check in the box for DXF file output and press one of the method buttons. After cycling through all the panels for each material a file dialog window will open for you to select a name and location for the DXF file and press save. The file will be created and you can then import it into your toolpathing software.
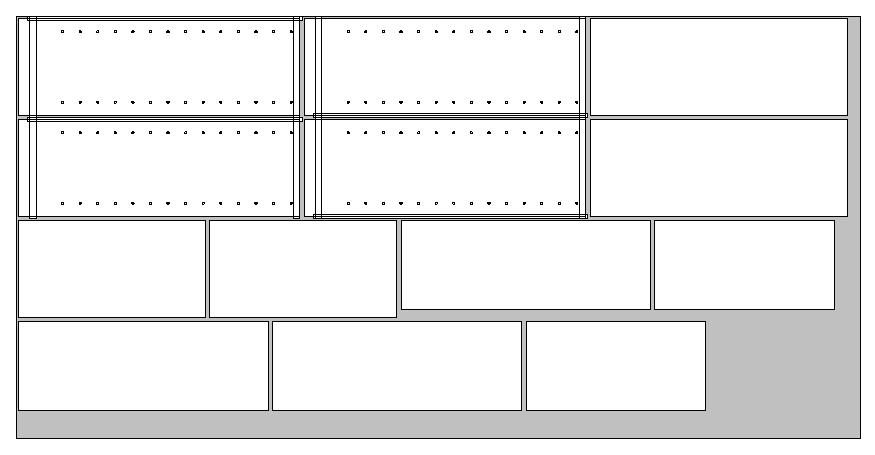
Sample output with dados, rabbets and shelf holes:
Contents:
Page 1--Program setup and first cabinet
Page 2--Setting up rooms and placing cabinets on walls
Page 3--Saving, Opening, Printing and Deleting jobs
Page 4--Settings
Page 5--Individual cabinets explained
Page 6--Miscellaneous
Page 7--Combing cabinets
Page 8--Frameless cabinets
Page 9--Planning in elevation views
Page 10--3D
Page 11--DXF output and settings